
How to import a map?

Importing your own map in Esri SHAPE format start with selecting the Add new layer button.
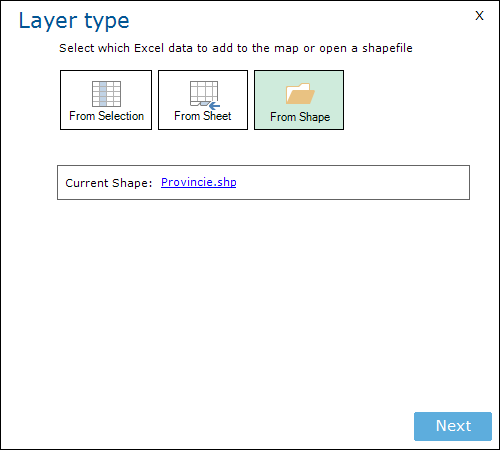
Select From Shape and select your map in SHAPE format (extension shp).
E-Maps is designed to work with WGS84 format (other projections may work).
The base files for the map should have a project file (extension .prj) too.
Click Next.
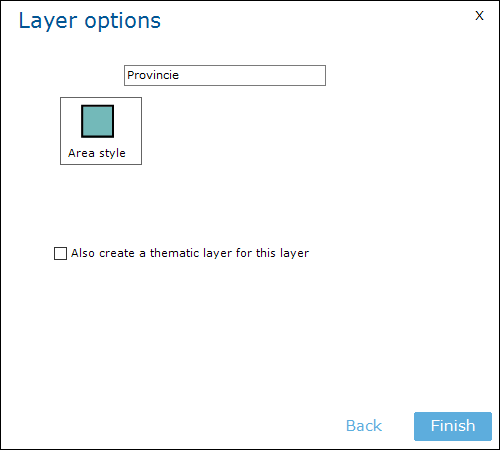
Style the layer by selecting Area style.
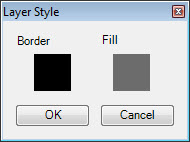
The Layer Style dialog appears and the border and fill style can be set.
By clicking on the colored boxes, you can set the color.
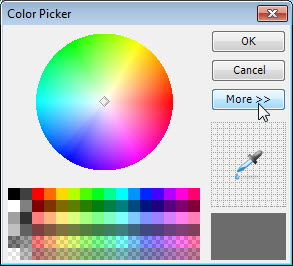
For transparency settings, click the More>> button.
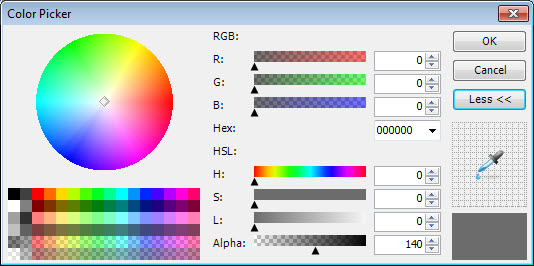
The Alpha value defines the transparancy.
Click OK to set the color.
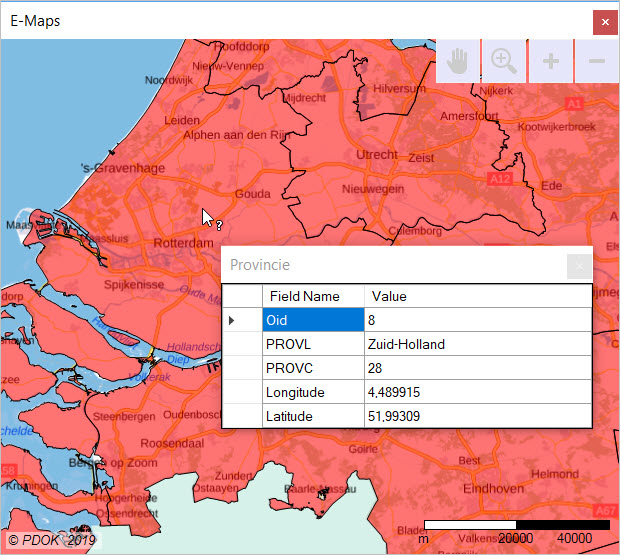
Click Finish to display the layer on the map.